

Collision Repair · Complete Guide
Everything you need to know — from the moment you file a claim to the day you drive away in a fully restored vehicle.
Quick Answer
The accident repair process explained is the structured sequence of steps a certified auto body shop follows to assess, repair, and restore a vehicle after a collision — covering everything from initial inspection and insurance coordination through structural correction, paint refinishing, and final quality control before the vehicle is returned to its owner.
If you’ve recently been in a collision, understanding the accident repair process explained in full can relieve a great deal of stress and help you make smarter decisions about your vehicle, your insurance claim, and the shop you trust with the work. Many drivers hand over their keys with very little idea of what happens next — and that uncertainty can lead to costly mistakes. This guide walks you through every stage, so you know exactly what to expect.
What Is the Accident Repair Process Explained?
The accident repair process is a multi-stage workflow that begins the moment a damaged vehicle arrives at a body shop and ends only after a thorough quality inspection confirms the car meets safety and cosmetic standards. It is not a single task — it is a coordinated sequence involving estimators, technicians, painters, parts specialists, and often insurance adjusters working in parallel.
According to the National Highway Traffic Safety Administration (NHTSA), improper collision repairs can compromise a vehicle’s structural integrity and occupant protection systems — making it critical that every step is performed correctly by qualified professionals.
Step 1: Damage Assessment and Initial Estimate
The process begins with a thorough visual and mechanical inspection of the vehicle. A trained estimator documents all visible damage — dents, broken glass, crumpled panels, deployed airbags — and uses estimating software to calculate repair costs. This initial estimate is shared with you and submitted to your insurance company.
It’s important to understand that the initial estimate is rarely the final number. Hidden damage — particularly to structural components beneath body panels — is often not visible until the vehicle is disassembled. A reputable shop will communicate any supplemental costs transparently before proceeding.
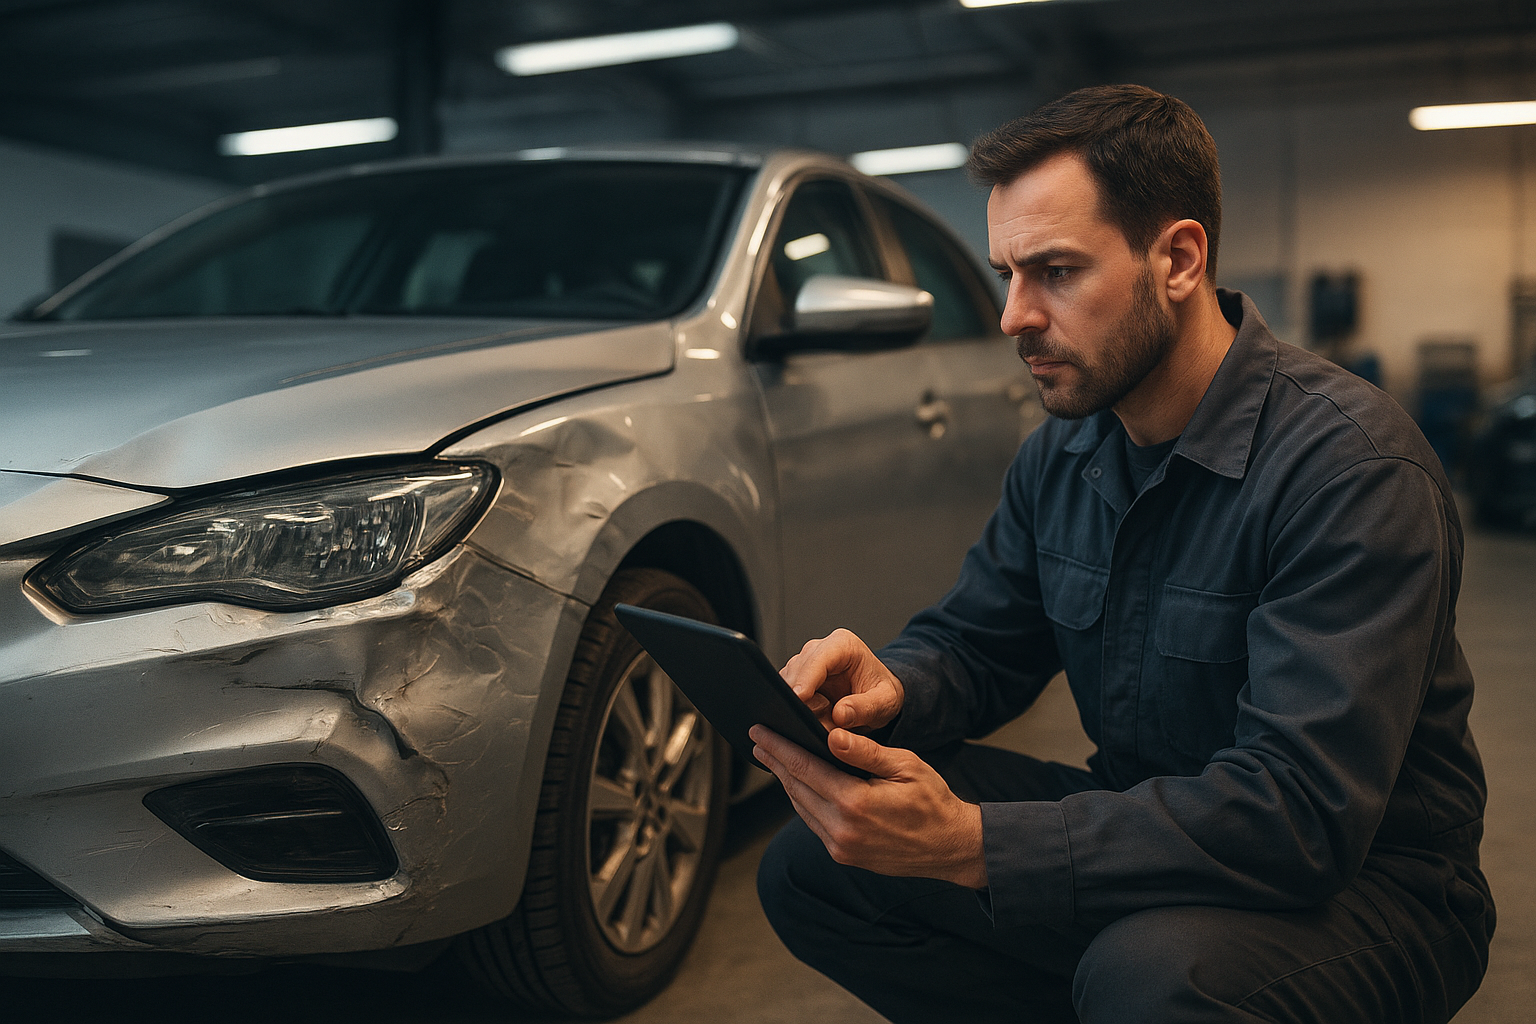
Step one of the accident repair process explained: a certified estimator documents all damage before any work begins.
Step 2: Insurance Coordination and Approval
Once the estimate is prepared, the shop works with your insurer to get repair authorization. This can involve a desk review, a virtual inspection, or an in-person visit from an insurance adjuster. The shop advocates on your behalf to ensure all legitimate damage is covered — not just what the insurer initially approves.
One important right most drivers don’t realize they have: you are not required to use your insurance company’s “preferred” shop. You have the legal right to choose your own repair facility. Choosing a shop with manufacturer certifications and a commitment to OEM parts — like the guidance found in this OEM repair shop selection guide — can make a meaningful difference in the safety of the finished repair.
Step 3: Disassembly and Hidden Damage Discovery
With authorization confirmed, technicians begin disassembling the damaged areas. This is where the full scope of damage becomes clear. Panels are removed, bumper fascias stripped back, and in significant collisions, the vehicle may be placed on a frame measuring system to assess structural alignment.
Any supplemental damage discovered at this stage is photographed, documented, and submitted to the insurer as a revised estimate. Good shops keep you informed at every point — you should never be surprised by additional charges without prior communication.
Step 4: Structural and Mechanical Repair
If the collision affected the vehicle’s frame or unibody structure, this is the most critical phase of the entire repair. Technicians use computerized measuring systems and hydraulic straightening equipment to restore the vehicle to factory specifications. This work directly affects how the car handles, how airbags deploy, and how well the crumple zones perform in a future collision.
Mechanical repairs — to suspension components, steering systems, cooling systems, or safety sensors — are also completed during this phase. Advanced driver-assistance systems (ADAS) such as lane-departure warnings, automatic emergency braking, and blind-spot monitors must be recalibrated after many types of collision repairs.
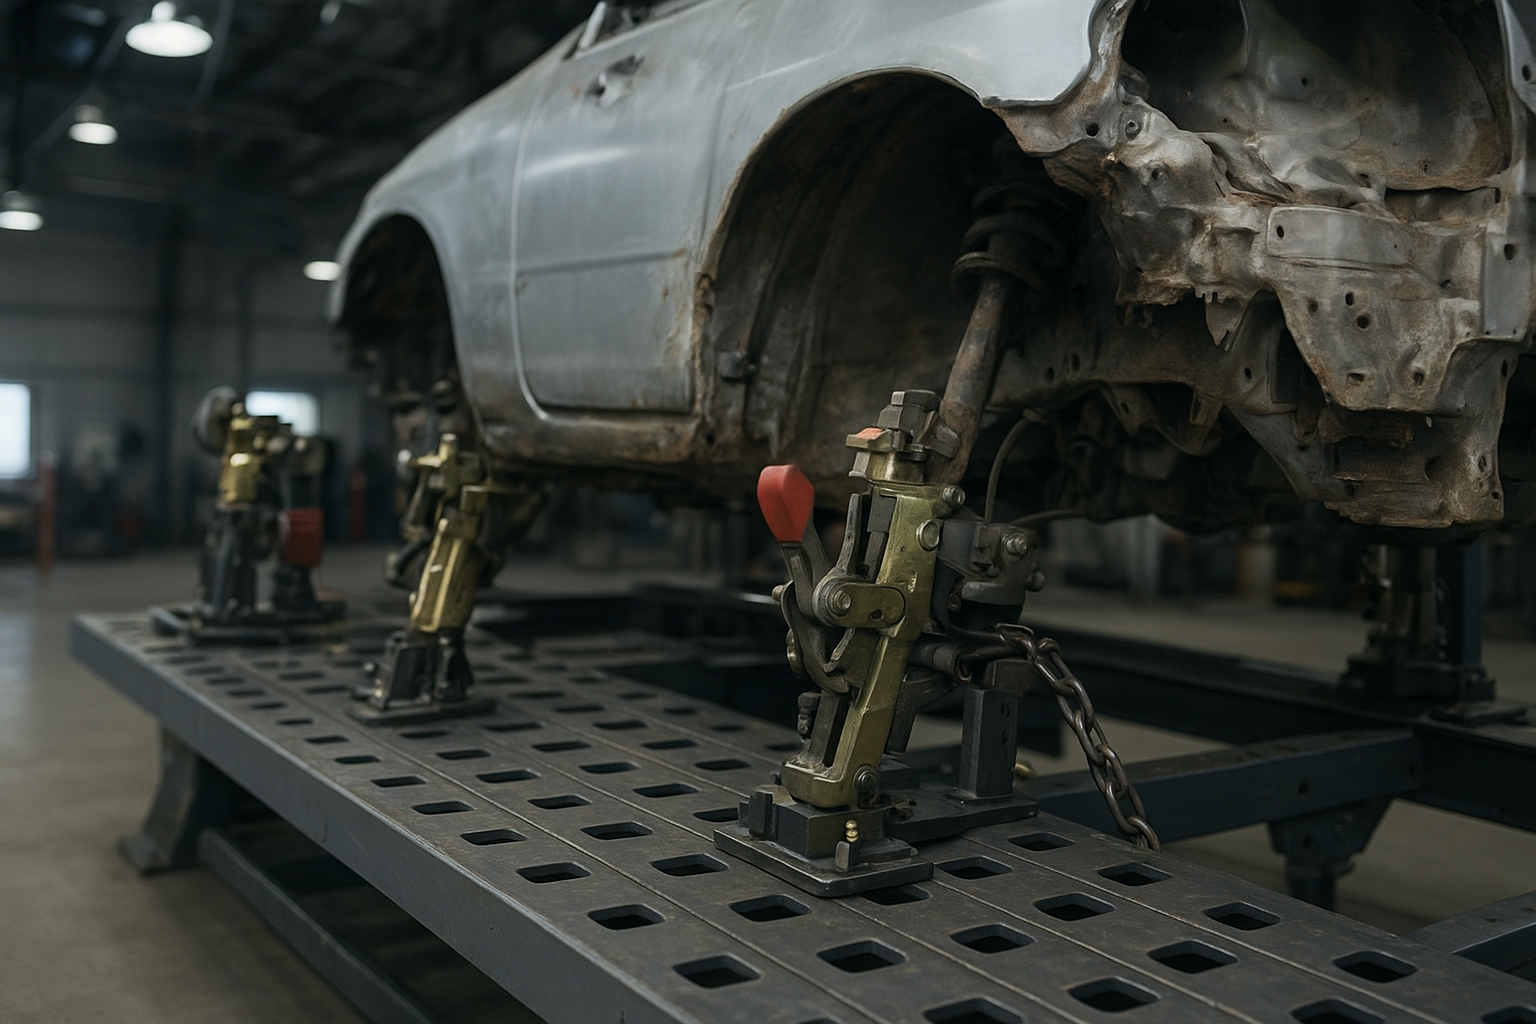
Structural repair is the most safety-critical phase of the auto body repair process — precision equipment ensures factory alignment is restored.
Step 5: Body Panel Repair and Replacement
With the structure sound, technicians address the cosmetic body damage. Dented panels may be repaired using paintless dent repair (PDR) techniques if the paint surface is intact, or through traditional bodywork — filling, sanding, and shaping — when the damage is more severe. Panels that are too damaged to repair economically are replaced entirely.
The choice between OEM (Original Equipment Manufacturer) parts and aftermarket alternatives matters here. OEM parts are engineered specifically for your vehicle model and year, ensuring precise fit, correct crumple behavior, and compatibility with safety systems. Aftermarket parts can vary significantly in quality.
Step 6: Paint Preparation and Refinishing
Paint work begins with careful surface preparation: sanding, priming, and masking adjacent panels to protect them from overspray. A computerized paint-matching system analyzes your vehicle’s color code and accounts for any fading or oxidation to create a formula that blends seamlessly with the existing finish.
Multiple coats are applied in sequence — primer, base coat, clear coat — then baked in a temperature-controlled spray booth to cure properly. The result should be indistinguishable from the factory finish when done by skilled technicians using quality materials.

Paint refinishing inside a controlled spray booth ensures a factory-quality finish as part of the complete collision repair workflow.
Step 7: Reassembly and Systems Calibration
Once the paint has cured, the vehicle is reassembled. Every component removed during disassembly — trim pieces, lights, glass, bumper covers, emblems — is reinstalled. Technicians verify that all gaps and panel alignments meet manufacturer tolerances.
Critically, any ADAS sensors, cameras, or radar units that were disturbed during repair must be recalibrated using specialized diagnostic equipment. Skipping this step — or performing it incorrectly — can leave safety systems operating with dangerous inaccuracies. This is a non-negotiable part of a complete, safe repair.
Step 8: Quality Control Inspection and Delivery
Before your vehicle is returned, a final quality control inspection is performed. This includes a road test to check handling, braking, and alignment; a visual check of all repaired surfaces under multiple lighting conditions; and a review of all repaired systems. Any deficiencies are corrected before delivery.
At delivery, a good shop will walk you through every repair that was completed, explain any warranty coverage, and answer your questions. You should leave with a detailed repair order, all parts documentation, and confidence in the work performed.
Frequently Asked Questions
How long does the collision repair process typically take?
Repair time depends on severity. Minor damage may take 2–3 business days. Moderate to severe collision damage — especially involving structural work or special-order parts — can take 1–3 weeks or longer. Your shop should give you a realistic timeline upfront and update you if it changes.
Do I have to use the shop my insurance company recommends?
No. In most U.S. states, you have the legal right to choose your own repair shop. Insurance companies may recommend preferred shops, but the final choice is always yours. Choosing a certified shop that uses OEM parts can significantly impact repair quality and long-term vehicle safety.
What is the difference between OEM and aftermarket parts?
OEM parts are made by the vehicle’s original manufacturer and designed to exact factory specifications. Aftermarket parts are produced by third-party suppliers and can vary significantly in quality, fit, and safety performance. For safety-critical components, OEM is always the recommended choice.
What should I look for when choosing a collision repair shop?
Look for I-CAR Gold Class certification or manufacturer-approved repair status, transparent written estimates, a clear warranty on labor and parts, and a shop that communicates proactively throughout the process. If language accessibility matters to you, finding a bilingual collision repair partner can make the entire process easier to navigate.
Final Thoughts: Why Understanding the Accident Repair Process Matters
Having the accident repair process explained clearly — and in advance — puts you in a far stronger position as a vehicle owner. You can ask the right questions, recognize red flags, advocate for proper parts and procedures, and ensure your car is returned to you truly safe and structurally sound — not just cosmetically presentable.
Every stage of the process, from damage assessment through final delivery, exists for a reason. Shortcuts at any stage can compromise your safety and the long-term value of your vehicle. Choosing a shop that follows this process rigorously — and communicates it openly — is one of the most important decisions you’ll make after a collision.
For drivers in Southern California looking for a trusted, certified repair facility that takes every step of this process seriously, Brea Auto Body offers transparent, high-quality collision repair backed by manufacturer certifications and a commitment to OEM-standard workmanship.
About This Guide
This article was produced for informational purposes to help vehicle owners understand what a professional collision repair looks like from start to finish. Repair timelines, procedures, and insurance rights may vary by state and vehicle type. Always consult a certified repair professional for guidance specific to your situation.

