
Accident Repair Process Explained: A Step?by?Step Guide
In this guide, you’ll find the accident repair process explained from the first call to final delivery, so you know exactly what happens and when. Additionally, you’ll see how shops coordinate with insurers and how you can speed things up. For local help and a friendly walk?through, explore the resources at breaautobody.com.

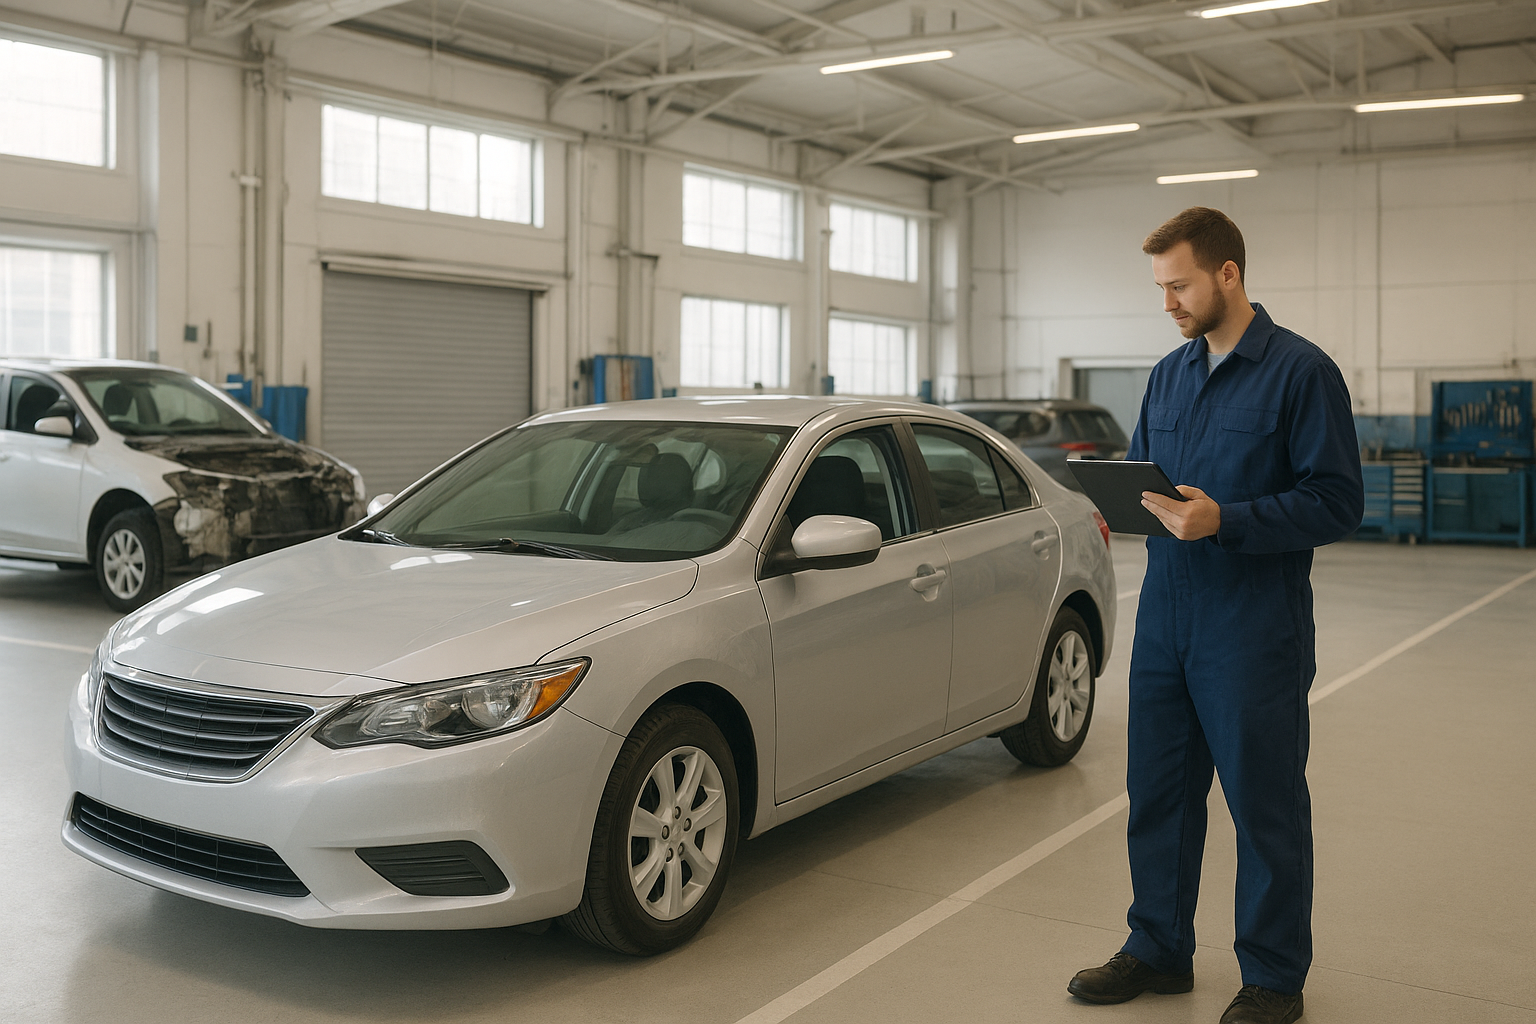
A trained technician begins with a full assessment to get the accident repair process explained clearly.
Accident repair process explained: a simple overview
The typical collision repair process follows seven clear stages. First comes intake and safety. Next, the shop performs a thorough estimate. Then parts are ordered. After that, body and structural repairs happen. Paint and refinish follow. Reassembly and digital calibrations come next. Finally, quality checks and delivery close the job. Therefore, you always know what’s next.
Step 1: Safety, claim, and towing
Start by confirming everyone is safe and calling for help if needed. Then document the scene and exchange details. If your car cannot drive, arrange a tow to your preferred body shop. You have the right to choose any qualified repairer. For official post?crash tips, review the guidance from the National Highway Traffic Safety Administration. Additionally, let your insurer know where the vehicle is going to reduce delays.
Step 2: Estimate and damage analysis
After check?in, the shop writes an estimate and captures photos. However, many issues hide behind panels. Because of that, a full “teardown” and blueprint often follows. During blueprinting, technicians scan the vehicle, measure structural points, and compare findings to manufacturer procedures. As a result, the repair plan becomes exact rather than guesswork. If you want a plain?English walk?through of this phase, the team at breaautobody.com can explain timelines and what each line item means.
OEM procedures and repair planning
Modern cars rely on sensors, cameras, and advanced steel. Therefore, shops consult official repair data for safe methods and torque specs. Additionally, they schedule any required calibrations at this time. Clear planning keeps costs transparent and reduces surprises later.
Step 3: Approvals, parts ordering, and scheduling
Once you and your insurer approve the plan, the shop orders parts. Genuine, OEM, or certified aftermarket options may be used based on your policy and goals. Meanwhile, the vehicle’s bay time is scheduled, which keeps the timeline realistic. Furthermore, the shop may pre?fit parts to verify alignment before paint, which prevents rework.
Step 4: Structural and body repairs
Now technicians move into structural pulls and bodywork. They mount the vehicle on a frame bench, measure to factory specs, and use proper anchoring points. Then they repair or replace damaged panels. Skilled metal finishing and plastic repair restore shape while protecting corrosion coatings. Consequently, gaps and lines return to OEM standards. Throughout this stage, photos document progress for you and the insurer.
Step 5: Paint prep, color match, and refinish
Great paint starts with careful prep. First, surfaces are cleaned, sanded, and masked. Next, technicians use digital color tools and spray cards to match the finish. Then basecoat and clearcoat are applied in a dust?controlled booth. Finally, curing, de?nibbing, and polishing deliver a glassy shine. Additionally, blending into adjacent panels often ensures an invisible match. If you’re comparing finishes or warranties, ask a shop like breaautobody.com about paint system guarantees and care tips.

Refinish work restores gloss and color match after collision repair steps.
Step 6: Reassembly, scanning, and calibration
After paint, the car is reassembled with new clips, seals, and fasteners. Then the shop performs post?repair scanning to confirm no new fault codes remain. Many cars need ADAS calibrations for cameras, radar, and blind?spot sensors. Therefore, technicians follow precise targets and distances for each system. As a result, safety features work as designed the moment you drive away.
Step 7: Quality control, detailing, and delivery
At this point, a second set of eyes checks fit, finish, electronics, and road manners. Additionally, the shop test drives the vehicle when needed and verifies that all warning lights clear. Finally, a light detail makes the car feel new again. You’ll receive a final invoice, warranty details, and care advice. Because everything is documented, future questions are easy to answer.
Your quick checklist to stay in control
- Choose a trusted body shop and confirm they handle your make.
- Share claim details early to streamline approvals.
- Ask for a written blueprint, not just a visual estimate.
- Review parts choices and warranty coverage in writing.
- Confirm timing for calibrations and sublet work.
- Request progress updates and photos at key milestones.
- Inspect panel gaps, paint match, and electronics at delivery.
Print or save this list. Moreover, check off each step as you go. It reduces stress and helps you track results.
Timeframes, communication, and common delays
Repair time depends on parts, severity, and insurer approvals. Minor cosmetic work may take days. Heavier structural and calibration work can take weeks. Additionally, specialty parts or back?orders may extend timelines. Therefore, agree on update intervals up front. For example, ask for texts after teardown, after parts arrival, and after paint. Clear updates keep everyone aligned and protect your schedule.
Costs, deductibles, and saving time
Your out?of?pocket cost is usually the deductible. However, optional items like unrelated dents or detailing are separate. To save time, sign repair authorizations quickly and respond to shop questions the same day. Furthermore, share any prior damage photos to avoid confusion. When in doubt, ask the advisor to explain each step in plain language. If you prefer a quick consult, the pros at breaautobody.com can help you plan next steps and book an inspection.

Clear communication around your estimate and plan keeps the process smooth.
Why choosing the right shop matters
The auto body repair process is only as safe as the methods used. Look for trained technicians, proper welding gear, measuring systems, and access to OEM data. Additionally, review paint system warranties and customer feedback. A shop that explains each stage shows confidence and care. Ultimately, the best partner makes the accident repair process explained in plain words, not jargon.
Conclusion: confidence comes from clarity
You now have the accident repair process explained in seven practical steps, from the first tow to a safe, polished delivery. As a result, you can make informed choices, ask better questions, and keep your schedule on track. If you’re ready to get started or want a friendly second opinion, visit breaautobody.com and book an assessment today.

