
Honda Collision Repair Brea: The Complete 2026 Owner’s Guide to OEM Safety, ADAS Calibration, and Choosing the Right Shop

Honda collision repair in Brea — done right — restores factory safety systems, preserves resale value, and gets you back on the road with confidence.
If you’re searching for “Honda collision repair Brea,” you already know what’s at stake. A modern Honda isn’t just sheet metal and paint — it’s a sophisticated platform of sensors, structural zones, restraint systems, and driver-assistance technology. One misstep during repair can leave critical safety systems operating below factory spec, often without a single warning light to tell you.
This guide gives Brea Honda owners the most complete, honest breakdown available in 2026: what an OEM-grade collision repair actually looks like, how to evaluate local shops, what parts choices mean for your safety, how insurance works in your favor, and what questions to ask before you hand over your keys.
Why Honda Collision Repair in Brea Demands Brand-Specific Expertise
Not every body shop is equipped to properly repair a late-model Honda. The reason comes down to engineering complexity. Honda vehicles — from the Civic and CR-V to the Pilot and Odyssey — use a combination of high-strength steel, ultra-high-strength steel, and aluminum in their body structures. These materials require specific welding methods, repair sequencing, and corrosion treatments that differ significantly from older vehicle construction.
Beyond structure, Honda’s Honda Sensing suite — which includes Collision Mitigation Braking, Lane Keeping Assist, Adaptive Cruise Control, and Road Departure Mitigation — relies on precisely positioned cameras and radar units. Replacing a bumper, windshield, or mirror without recalibrating these systems creates invisible safety risks that even experienced drivers won’t detect until an emergency occurs.
When you’re evaluating any shop for Honda collision repair in Brea, Honda-specific expertise isn’t optional. It’s the baseline.
- Mixed-material construction — requires model-specific welding, bonding, and riveting procedures
- High-strength steel zones — must NOT be heat-straightened; incorrect repair compromises crash energy management
- Integrated restraint systems — airbag sensors, pretensioners, and seat belt mechanisms must be verified after any moderate or severe impact
- Honda Sensing ADAS — camera and radar calibration is required after structural, glass, or bumper work
- Electronic module communication — pre- and post-repair scanning is mandatory to surface hidden DTCs (diagnostic trouble codes)
What a Proper Honda Collision Repair in Brea Looks Like, Step by Step
Understanding the repair process protects you from shortcuts. Here is the complete workflow a qualified Brea Honda body shop should follow — from the moment your car arrives to the moment you drive away.

OEM-grade Honda collision repair follows a defined workflow — from intake scanning to final calibration verification.
Step 1: Intake Documentation and Pre-Repair Scanning
The process begins before a single panel is removed. A proper intake includes comprehensive photography of all four corners, roof, undercarriage, and interior — plus a full pre-repair OBD scan of every module. The scan captures diagnostic trouble codes that exist at the time of impact, even when no warning lights are illuminated. This baseline is essential: it protects you legally, guides the repair plan, and prevents future disputes with insurers about pre-existing versus impact-related codes.
Step 2: Teardown and Damage Blueprint
After intake, the vehicle is disassembled to expose all hidden damage. Estimating from exterior appearance alone misses deformation in structural carriers, foam energy absorbers, mounting brackets, and wiring harnesses. Once teardown is complete, the shop produces a final repair blueprint — a detailed, line-item plan covering every operation, part, and procedure. This is also when the insurance supplement process typically begins, ensuring the approved scope matches actual damage.
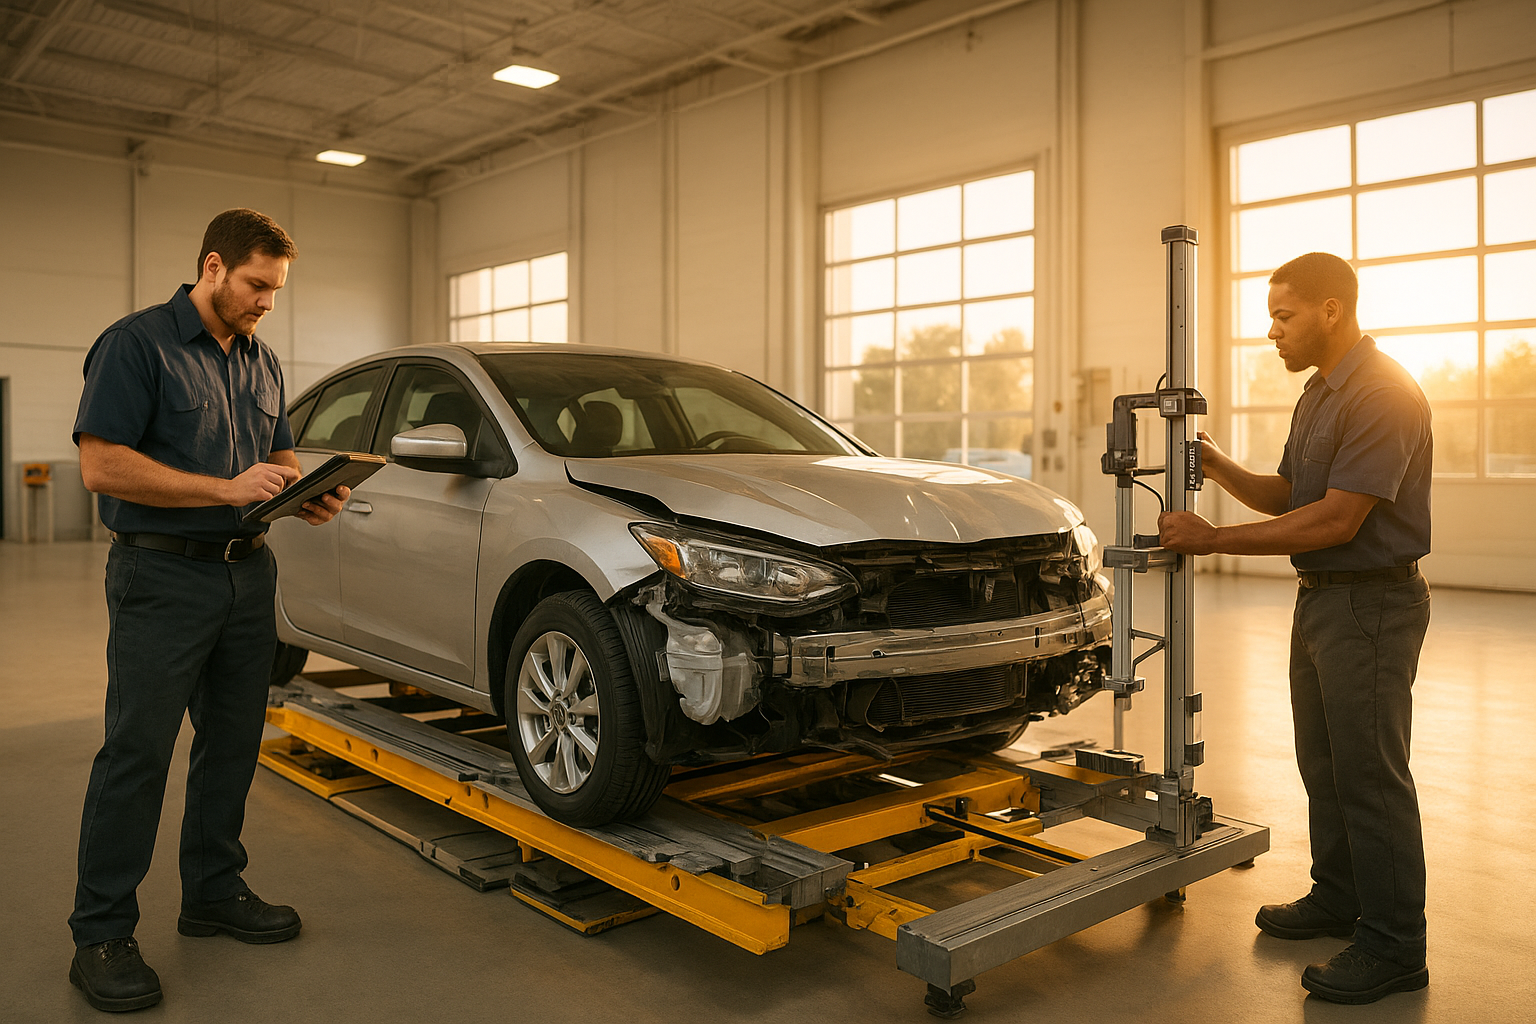
Step 3: Structural Measurement and Correction
Honda’s body structure is engineered to direct crash energy away from the passenger compartment using a precisely designed crumple zone system. Restoring these dimensions requires a computerized three-dimensional measuring system referenced against Honda’s factory data for your exact model and year. Any deviation — even a few millimeters — can affect how the vehicle performs in a subsequent collision, how doors and hoods align, and whether ADAS sensors can be accurately calibrated. Straightening, sectioning, and welding must follow Honda’s published repair methods — not generic shop practices.
Step 4: Parts Installation — OEM, Aftermarket, or Recycled
Part selection is covered in detail in its own section below, but within the repair workflow, every component must be verified for fitment before finishing work begins. Brackets, sensor mounts, and energy absorbers deserve special attention — these are areas where dimension tolerances directly affect safety and ADAS function.
Step 5: Paint, Refinish, and Corrosion Protection
Honda’s factory paint systems are applied in carefully controlled layers: electrocoat primer, sealer, basecoat, and clearcoat. Replicating this in a collision environment requires a climate-controlled spray booth, calibrated mixing equipment, and a color-matching process that accounts for your vehicle’s specific paint code and any natural fade. Adjacent panels that aren’t replaced must be blended so transitions are invisible. Equally important: seam sealer, cavity wax, and anti-corrosion coatings must be reapplied to any structural seam that was opened during repair. Skipping this step leads to rust intrusion within months — especially in wheel arch and rocker panel areas.
Step 6: ADAS Calibration — Static and Dynamic
ADAS calibration is one of the most misunderstood — and most frequently skipped — steps in Honda collision repair. See the dedicated section below for the full breakdown.
Step 7: Post-Repair Scan, Road Test, and Quality Control
Once all work is complete, a second full OBD scan verifies that no new codes were introduced during repair. A structured road test validates drivability, Honda Sensing system behavior, and any suspension or alignment changes. Final quality control should include a panel gap and flush inspection, paint surface evaluation under multiple lighting conditions, and documentation of every scan result and calibration printout — which you should receive at vehicle delivery.
ADAS Calibration After Honda Collision Repair in Brea: What Owners Need to Know

Proper ADAS calibration is a non-negotiable step in Honda collision repair that Brea drivers cannot afford to skip — ask for the printed calibration report at pickup.
Honda Sensing systems depend on camera and radar sensors that are mounted at precise angles and positions within the vehicle’s body. When collision damage shifts a bumper beam, windshield, grille, or mirror — even slightly — the calibration of these sensors is compromised. The result: a system that appears to function normally but measures distances, detects lanes, or identifies obstacles with errors that could cause it to react too late, too aggressively, or not at all.
When is ADAS calibration required after Honda collision repair? Honda’s service information specifies calibration triggers, but as a practical rule, calibration should be performed after:
- Any front or rear bumper cover removal or replacement
- Windshield replacement (forward-facing camera must be recalibrated)
- Any structural or frame repair affecting the front or rear sections
- Mirror replacement on Honda Sensing-equipped vehicles with side cameras
- Wheel alignment corrections of any significant degree
- Any repair that required grille or radar module removal
Static calibration takes place in a controlled shop environment using manufacturer-specified target boards positioned at exact distances and angles from the vehicle. Dynamic calibration requires driving the vehicle on public roads under specific speed and lane-marking conditions so the system can self-learn using real-world input. Many Honda models require both — in sequence.
Always request the calibration printout at vehicle delivery. A reputable Brea Honda body shop will provide this documentation automatically — it’s the proof that calibration was completed and passed, not just attempted.
OEM vs. Aftermarket vs. Recycled Parts: Making the Right Call for Your Honda
Parts selection is one of the most contested topics in collision repair — and one where uninformed choices can have lasting consequences. Here’s what Brea Honda owners need to understand about each category:
OEM (Original Equipment Manufacturer) Parts
OEM parts are manufactured by or for Honda and are identical to what was on your vehicle the day it left the factory. For structural components, sensor housings, radar mounts, airbag modules, and bumper covers with integrated radar windows, OEM is almost always the right choice. These parts maintain the dimensional tolerances necessary for ADAS calibration and the structural integrity required for crash performance. Honda’s OEM procedures are also written around OEM parts — deviating from them can void the procedure’s engineering basis.
Quality Aftermarket Parts
Aftermarket parts vary widely. For purely cosmetic applications — certain trim pieces, non-structural body panels, interior components — CAPA-certified or similarly quality-verified aftermarket parts can be an acceptable cost-effective alternative. However, for anything that affects sensor alignment, structural load paths, or crash zone behavior, the dimensional tolerances of aftermarket parts are not subject to Honda’s engineering specifications and may introduce fit and function issues. Discuss these tradeoffs explicitly with your estimator before approving any aftermarket substitution on a safety-critical component.
Recycled (Salvage) OEM Parts
Recycled OEM parts are factory-original components sourced from salvage vehicles. When properly inspected and sourced from reputable vendors, they can offer a cost-effective middle ground — particularly for sheet metal, glass, and non-electronic trim items. The key is verification: any recycled part used in a structural or sensor-related application should be documented, and calibration should confirm it functions correctly in your specific vehicle.
Navigating Insurance for Honda Collision Repair in Brea
Insurance claims are where most Honda owners feel most out of control. Understanding how the process works puts you back in the driver’s seat.
You Have the Right to Choose Your Shop
California law — and virtually every standard auto insurance policy — gives you the legal right to choose your own repair facility. Insurers may recommend “preferred” or “direct repair” shops from their network, but these recommendations serve the insurer’s cost and cycle-time goals. A Brea Honda body shop that prioritizes OEM repair methods can still work cooperatively with any major insurer — the difference is they advocate for the repair your Honda needs, not the repair that’s cheapest to approve.
Supplements: Why the First Estimate Is Rarely the Final One
Initial insurance estimates are typically written from visual inspection — before disassembly reveals hidden damage. Supplements are additional claims submitted when teardown uncovers damage not visible at the surface. This is normal and expected for any significant impact. A quality Brea Honda collision repair shop will document supplemental damage with photos and written justification, submit it to the insurer promptly, and keep you informed throughout the process so your repair timeline doesn’t stall.
Rental Car Coordination
If your policy includes rental car coverage, ask the shop to coordinate the start date with your insurer so your rental coverage begins when your vehicle actually enters the shop — not when the claim was filed. This prevents scenarios where your rental allowance runs out days before your Honda is ready.
Diminished Value Claims in California
California allows first-party diminished value claims in certain circumstances — meaning if your Honda loses market value as a result of a collision (even after a perfect repair), you may be entitled to compensation from the at-fault party’s insurer. Ask your shop whether they can document the repair scope in a way that supports a diminished value evaluation, particularly for newer or higher-value Honda models.
Honda Models Commonly Repaired in Brea — and What Makes Each One Unique
Brea sits at the intersection of the 57 Freeway and major surface streets — a daily collision corridor. The Honda models most frequently seen by local body shops reflect the Southern California market: a mix of commuter sedans, family SUVs, and minivans. Here’s what matters for the most common models:
- Honda Civic (2022–2025): Heavy use of high-strength steel in the front and rear rails. The front radar unit is integrated into the lower front bumper — replacement requires careful alignment and calibration. Forward-facing camera on the windshield must be recalibrated after any glass work.
- Honda CR-V (2023–2025): Hybrid powertrains require additional high-voltage safety precautions during repair. The radar and camera placement differs between standard and hybrid configurations. Post-repair ADAS calibration is especially critical given the vehicle’s reliance on adaptive cruise for highway commuting.
- Honda Accord (2023–2025): Wide, low front profile makes bumper cover damage common in parking-lot incidents. The grille-integrated radar window must be undamaged for calibration to succeed — even hairline cracks can block radar signal and prevent calibration completion.
- Honda Pilot (2023–2025): Larger body structure means more surface area for damage mapping. Third-row seating configurations affect rear sensor placement. Structural repairs require 3D measuring against Honda’s specific Pilot body data.
- Honda Odyssey: Sliding door mechanisms and B-pillar sections are frequent collision targets. The side radar systems (where equipped) for Blind Spot Information require calibration after rear quarter panel work.
How to Choose the Best Honda Body Shop in Brea: 10 Questions to Ask
Choosing a collision repair shop shouldn’t be a leap of faith. Ask these questions before committing, and the answers will tell you everything you need to know:
- Do you perform a pre-repair electronic scan on every vehicle? The right answer is yes — every vehicle, regardless of how minor the damage appears.
- How do you access Honda OEM repair procedures? Look for a shop that subscribes to Honda’s service information platform or a recognized industry equivalent — not generic repair manuals.
- What measuring system do you use for structural repairs? They should name a specific system — computerized 3D measurement referenced against Honda’s factory data.
- Do you perform both static and dynamic ADAS calibration in-house? If they outsource calibration, ask who does it, what equipment they use, and whether you’ll receive documentation.
- Can you show me a sample post-repair scan report? A quality shop will have examples ready and will explain what each module’s status means.
- What welding methods and equipment do you use for high-strength steel? Honda’s procedures specify squeeze-type resistance spot welding (STRSW) for certain joints — ask if they have the equipment.
- How do you handle corrosion protection on opened seams? They should mention seam sealer, cavity wax, and anti-corrosion coatings by name and explain where each is applied.
- What is your warranty on repairs? Look for a written lifetime warranty on workmanship — and ask whether it covers paint, structural work, and calibration separately.
- How do you communicate during the repair process? Expect a defined communication schedule — not “we’ll call you when it’s done.”
- What documentation will I receive at delivery? You should leave with before/after photos, scan reports, calibration printouts, a parts list, and a written warranty document.
Honda Collision Repair Timelines in Brea: What Affects Your Cycle Time
One of the most common frustrations in collision repair is timeline uncertainty. Here’s an honest breakdown of what drives cycle time for Honda repairs in the Brea area:
- Accuracy of the initial blueprint: Shops that blueprint thoroughly before ordering parts avoid mid-repair delays caused by missing or incorrect components. This single factor has the biggest impact on cycle time.
- OEM parts availability: Honda OEM parts are generally well-stocked, but specific trims, colors, or specialty components for newer models may have lead times. Your estimator should check availability before quoting a completion date.
- Supplement approval speed: If hidden damage requires a supplement, the insurer’s response time affects the repair schedule. Shops with established insurer relationships often resolve supplements faster.
- ADAS calibration scheduling: Dynamic calibration requires road access under specific conditions. In Brea’s 57 Freeway corridor, shops typically schedule calibration drives during off-peak hours for safety and accuracy.
- Scope of damage: A straightforward bumper repair with calibration may take 3–5 business days once parts are on hand. A structural repair involving the front rails, supplemental damage, and full ADAS recalibration can realistically take two to four weeks.
The most reliable timeline estimate comes after teardown and measuring — when the shop can see the full scope of damage. Be cautious of shops that quote firm completion dates from exterior-only inspection.
Cost, Safety, and Resale Value: The Full Picture of Honda Collision Repair
A proper repair isn’t just about making your Honda look the way it did before. It’s a multi-dimensional investment:
- Safety: Accurate structural restoration ensures your Honda performs as designed in a subsequent collision. Calibrated ADAS systems function correctly for daily driving. Verified restraint systems protect occupants as intended.
- Tire and suspension longevity: Precise structural alignment prevents uneven tire wear and abnormal suspension stress — saving you money on maintenance over the vehicle’s remaining life.
- Corrosion prevention: Properly reapplied seam sealers and cavity wax prevent moisture intrusion in structural panels — a critical factor in Southern California’s coastal-adjacent air quality where salt and humidity accelerate corrosion in unprotected seams.
- Resale value: Carfax and vehicle history reports reflect collision events. A documented OEM-grade repair — with scan reports, calibration records, and parts documentation — demonstrates responsible ownership and supports a higher trade-in or private sale value.
- ADAS function for future buyers: Sophisticated used-car buyers and dealership appraisers increasingly check whether ADAS systems have been properly calibrated post-repair. Documented calibration is becoming a resale differentiator.
Frequently Asked Questions: Honda Collision Repair in Brea
How long does Honda collision repair in Brea typically take?
Timeline depends heavily on damage scope and parts availability. Minor cosmetic repairs — a bumper cover and paint — can be completed in 3–5 business days once parts arrive. Structural repairs, with 3D measuring, welding, paint, and full ADAS calibration, typically require two to four weeks. The most accurate timeline comes after teardown and measuring, not from exterior-only inspection. Ask your shop to provide a revised schedule after blueprinting is complete.
Will my Honda Sensing features work correctly after collision repair?
They should — but only if the shop follows Honda OEM repair procedures, uses dimensionally correct parts, and completes all required ADAS calibrations with documented results. A post-repair scan confirming all modules are clear of diagnostic trouble codes is also required. Always ask for the calibration printout and post-scan report at vehicle delivery. If a shop cannot provide these documents, the calibration was either skipped or not completed successfully.
Do I have to use my insurance company’s preferred shop for Honda repairs?
No. California law gives you the right to choose your own repair facility, regardless of what your insurer recommends. Insurer-preferred “DRP” shops are selected for cost and cycle-time goals — not necessarily for OEM repair quality. A reputable Brea Honda body shop can work with your insurer directly, handling supplements, documentation, and communication — while prioritizing your vehicle’s correct and complete repair.
What is an OEM repair procedure and why does it matter for Honda?
An OEM repair procedure is Honda’s published, engineering-backed set of instructions for how a specific vehicle model should be repaired after collision damage. These procedures specify weld types, sectioning locations, adhesive applications, torque specs, corrosion protection methods, and calibration requirements for each model year. Following OEM procedures — rather than generalized shop practices — ensures the repair restores both structural integrity and safety system performance to Honda’s original design intent.
Can I file a diminished value claim after Honda collision repair in California?
California allows diminished value claims against the at-fault party’s insurer in many cases. Even after a high-quality repair, a collision history can reduce your Honda’s market value. Ask your shop to provide thorough documentation of the repair scope, parts used, and scans completed — this supports a diminished value appraisal. Consult with a claims professional or attorney if the at-fault insurer disputes your claim.
What should I receive when I pick up my Honda after collision repair?
A quality Brea Honda body shop should provide: before-and-after photographs documenting the damage and repair, the pre-repair and post-repair OBD scan reports, ADAS calibration printouts (static and dynamic where applicable), a final parts and operations invoice, paint care instructions for the first 30–60 days, and a written warranty covering workmanship and refinish. Walk through each item with the service advisor before you drive away.
Is it safe to drive my Honda after minor collision damage without getting it repaired?
It depends entirely on what was affected. Surface-level cosmetic damage — a scuff on a bumper cover with no underlying deformation — is generally low risk for continued driving. However, any impact that could have shifted a camera mounting bracket, misaligned a radar unit, or triggered airbag sensors needs professional evaluation first. A pre-inspection scan is the only way to know whether diagnostic trouble codes are present that indicate a deeper safety system concern.
Ready to Get Started with Honda Collision Repair in Brea?
The difference between a shop that does Honda collision repair and one that does it correctly comes down to process, documentation, and a genuine commitment to OEM standards. That means pre-scans, 3D measuring, Honda-procedure-based structural work, calibrated ADAS, post-scans, and a complete documentation package at delivery.
If you’re ready to take the next step, contact Brea Auto Body for Honda collision repair in Brea to discuss your vehicle’s specific damage, your insurance claim, and how they approach your Honda’s particular model and year. You can also visit BreaAutoBody.com to learn more about their process, request an estimate, and see how they document and verify every repair — start to finish.
Bottom line: Honda collision repair in Brea done to OEM standards — with documented scans, verified structure, and calibrated ADAS — delivers a safer vehicle, fewer long-term costs, and better resale value. Insist on the process, ask for the paperwork, and choose a shop that can show you both.

